
Hiking Travel Checklist Complete Guide: Essential Items and Tips for Safe Adventures
“
Hiking Travel Checklist Complete Guide: Essential Items and Tips for Safe Adventures
Whether you’re planning a weekend trek through mountain trails or a multi-day backpacking journey, having a reliable hiking travel checklist complete guide is essential for safety, comfort, and enjoyment. This comprehensive resource covers everything you need—from gear and clothing to navigation tools and emergency supplies—organized by category and trip type. With practical examples, clear comparisons, and actionable steps, this guide helps both beginners and experienced hikers prepare effectively. By following this checklist, you’ll minimize risks, avoid common mistakes, and ensure your outdoor adventure is as smooth and rewarding as possible.
Why a Hiking Travel Checklist Matters
A well-prepared hiker is a safe hiker. Many trail emergencies stem from preventable oversights—forgotten maps, inadequate footwear, or insufficient water. A structured checklist ensures you don’t leave critical items behind and helps you adapt to different terrains, weather conditions, and trip durations. Whether you’re hiking in the Rockies, the Appalachian Trail, or a local forest preserve, preparation is your best defense against the unexpected.
Beyond safety, a solid checklist enhances comfort and confidence. Knowing you have the right gear means you can focus on the scenery, wildlife, and physical challenge—not on whether you packed enough socks or a first-aid kit. This guide breaks down every essential category with real-world context so you can customize your pack based on your destination and experience level.
Core Categories of a Hiking Travel Checklist
Every hiking checklist should be organized into logical categories to streamline packing and reduce stress. Below are the six core areas every hiker must consider:
1. Navigation Tools
Getting lost is one of the most common causes of hiking emergencies. Even on well-marked trails, weather, fatigue, or distraction can lead to disorientation. Always carry reliable navigation tools:
- Topographic map of the area (waterproof or in a protective case)
- Compass (and know how to use it—don’t rely solely on GPS)
- GPS device or smartphone app with offline maps (e.g., Gaia GPS, AllTrails)
- Trail guide or printed itinerary with landmarks and exit points
Example: On a 10-mile loop in Glacier National Park, a sudden fog roll-in can obscure trail markers. A physical map and compass become invaluable when your phone battery dies or loses signal.
Pro tip: Practice using your compass and map before your trip. Many beginners assume GPS is foolproof, but batteries die, signals drop, and devices fail.
2. Hydration and Nutrition
Dehydration and low energy are silent trail dangers. The amount you need depends on distance, elevation gain, and climate. As a rule of thumb, plan for at least 2 liters of water per day in moderate conditions, more in heat or high altitude.
- Water bottles or hydration bladder (minimum 2-liter capacity)
- Water filter or purification tablets (for refilling from streams or lakes)
- Electrolyte supplements (especially for long or hot hikes)
- High-energy snacks: nuts, trail mix, energy bars, dried fruit
- Meals (for multi-day trips): dehydrated backpacking meals, instant oatmeal, peanut butter packets
Example: A day hike in Arizona’s desert requires at least 3 liters of water due to extreme heat and low humidity. Relying on natural water sources without purification can lead to giardia or other waterborne illnesses.
Warning: Never drink untreated water from streams or lakes, even if it looks clean. Use a filter (e.g., Sawyer Squeeze) or chemical treatment (e.g., Aquatabs) to remove pathogens.
3. Clothing and Layering
Weather in the backcountry can change rapidly. Dressing in layers allows you to adjust to temperature shifts, wind, and precipitation. Avoid cotton—it retains moisture and can lead to hypothermia when wet.
- Base layer: moisture-wicking synthetic or merino wool
- Insulating layer: fleece or down jacket (depending on season)
- Outer shell: waterproof and windproof jacket and pants
- Hiking pants or convertible pants
- Hat and gloves (even in summer—high elevations get cold)
- Extra socks (wool or synthetic, at least one spare pair)
Example: A spring hike in the Pacific Northwest might start sunny but turn rainy by afternoon. A breathable rain jacket and quick-dry pants keep you dry without overheating.
Pro tip: Pack a lightweight puffy jacket even on summer hikes. Temperatures drop significantly at night or at high elevations.
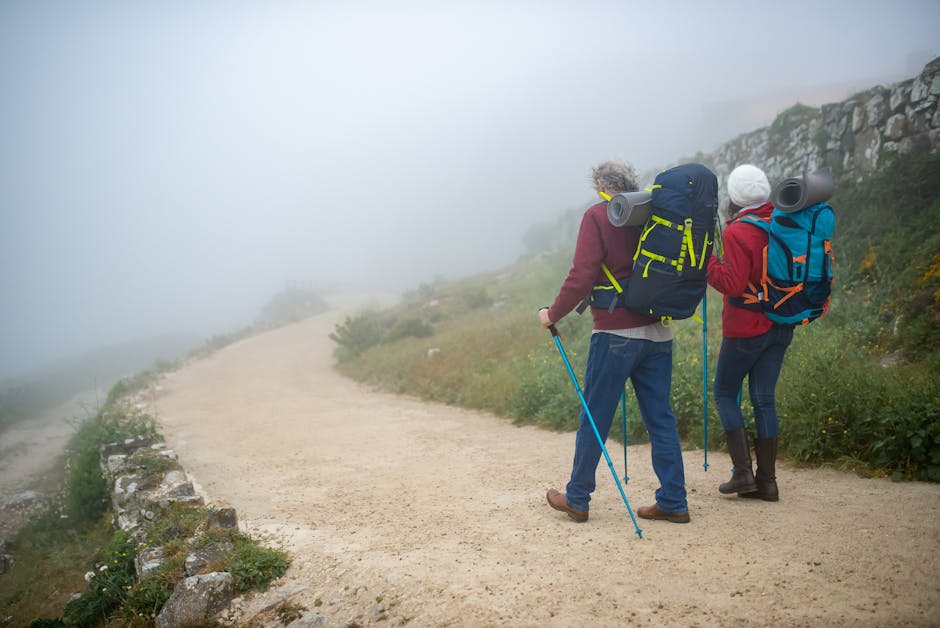
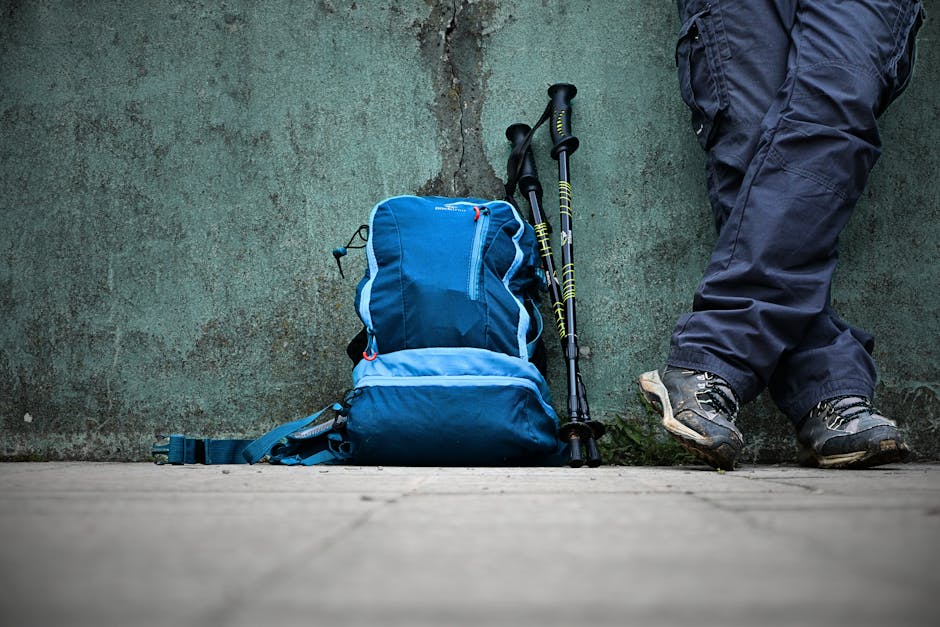
4. Footwear and Trekking Aids
Your feet carry you the entire journey—invest in proper footwear and support.
- Hiking boots or trail shoes (broken in before the trip)
- Hiking socks (avoid cotton; choose wool or synthetic blends)
- Trekking poles (reduce knee strain on descents and improve balance)
- Gaiters (optional, for muddy or snowy conditions)
Example: On a rocky descent in the Sierra Nevada, trekking poles can reduce impact on knees by up to 25%, according to biomechanical studies.
Warning: Never wear new boots on a long hike. Blisters and hot spots can develop quickly and ruin your trip. Break them in with shorter walks first.
5. Safety and Emergency Gear
Even experienced hikers face unexpected situations. Carry gear that can help you respond to injuries, storms, or getting lost.
- First-aid kit (include blister treatment, antiseptic, bandages, pain relievers)
- Emergency shelter (lightweight bivy, space blanket, or tarp)
- Fire starter (waterproof matches, lighter, or fire steel)
- Headlamp or flashlight (with extra batteries)
- Whistle (for signaling; louder than shouting)
- Multi-tool or knife
- Sunscreen and sunglasses (UV exposure increases at altitude)
- Insect repellent (especially in summer or wooded areas)
Example: A sudden thunderstorm in the Smokies can leave you stranded. A space blanket and fire starter can help retain body heat if you’re forced to wait it out.
Pro tip: Customize your first-aid kit based on group size and trip length. A solo day hike needs fewer supplies than a 5-day group expedition.
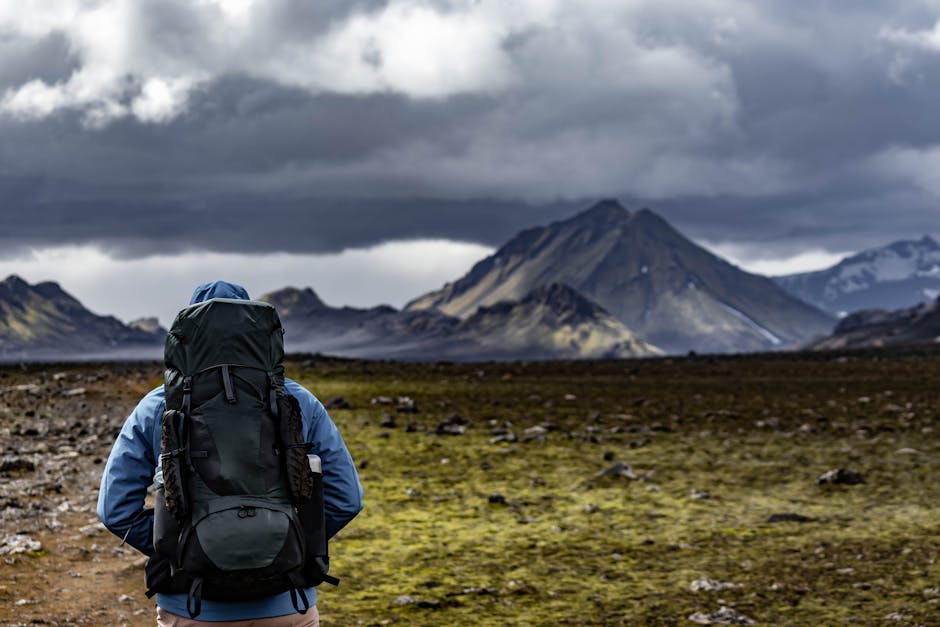
6. Backpack and Packing Essentials
Your pack is your mobile base camp. Choose the right size and pack smart to distribute weight and protect gear.
- Backpack (20–35L for day hikes; 50–70L for multi-day)
- Rain cover or dry bags (to keep gear dry)
- Pack liner or trash compactor bags (for waterproofing and organization)
- Trekking towel (quick-dry, compact)
- Toiletries: toothbrush, biodegradable soap, hand sanitizer
- Toilet paper and trowel (for digging catholes—follow Leave No Trace principles)
Example: A 30L pack is ideal for a summer day hike with water, snacks, layers, and safety gear. Overpacking leads to fatigue and discomfort.
Warning: Avoid overloading your pack. A good rule is to keep your pack weight under 20% of your body weight for comfort and safety.
Trip-Specific Considerations
Your checklist should adapt based on the type of hike. A desert trek, alpine climb, and forest trail each demand different preparations.
Day Hikes
Shorter trips still require full preparation. Don’t skip essentials just because you’ll be back by dinner.
- Focus on water, navigation, sun protection, and a basic first-aid kit
- Pack light but complete—aim for under 15 pounds total
- Tell someone your route and expected return time
Multi-Day Backpacking
Extended trips require additional planning for food, shelter, and hygiene.
- Tent or hammock with rainfly
- Sleeping bag and sleeping pad (rated for expected lows)
- Cooking system: stove, fuel, pot, utensils
- Food storage: bear canister or bear bag (required in many parks)
- Extra clothing and repair kit (duct tape, needle and thread)
Example: In Yosemite, bear canisters are mandatory in most backcountry zones. A lightweight model like the BearVault BV500 fits easily in a 65L pack.
Winter or High-Altitude Hiking
Cold weather and thin air increase risks. Adjust your checklist accordingly.
- Insulated, waterproof boots (with gaiters)
- Thermal layers and balaclava
- Avalanche safety gear (if in avalanche terrain): beacon, probe, shovel
- Extra fuel and insulated water bottles (to prevent freezing)
Warning: Hypothermia can set in even at 50°F (10°C) if you’re wet and windy. Always carry emergency insulation.
How to Use This Hiking Travel Checklist
Follow these steps to make the most of your preparation:
- Review your route: Study maps, elevation profiles, and weather forecasts.
- Customize the checklist: Remove unnecessary items and add trip-specific gear.
- Test your gear: Set up your tent, cook a meal, and walk with your loaded pack.
- Pack the night before: Avoid last-minute stress and forgotten items.
- Check conditions: Monitor weather and trail reports up to departure.
Example: Before a 3-day trek in the Adirondacks, spend an evening packing and simulating a short walk with your loaded pack. This reveals comfort issues and missing items.
Common Mistakes to Avoid
Even seasoned hikers make errors. Watch out for these frequent pitfalls:
- Overpacking: Bringing too much leads to fatigue and slower pace.
- Underestimating water needs: Dehydration impairs judgment and physical performance.
- Relying solely on technology: GPS and apps fail—always have a backup.
- Ignoring weather forecasts: A “sunny” morning can turn stormy in mountain regions.
- Not informing others: Always share your itinerary with someone reliable.
Example: A hiker in Colorado assumed his phone would guide him back. When the battery died in a canyon with no signal, he had no map or compass and had to wait hours for rescue.
Compact Gear Comparison Table
Not all gear is created equal. Below is a comparison of common hiking items to help you choose wisely:
| Item | Budget Option | Mid-Range Option | Premium Option | Best For |
|---|---|---|---|---|
| Water Filter | Pump filter (e.g., Katadyn Hiker) | Straw filter (e.g., LifeStraw) | Squeeze filter (e.g., Sawyer Squeeze) | Backpackers needing fast, reliable filtration |
| Backpack | Basic daypack (20–30L) | Adjustable torso pack (40–50L) | Ultralight frameless pack (30–40L) | Long-distance hikers prioritizing weight |
| Sleeping Bag | Synthetic (3-season, 40°F rating) | Down (3-season, 20°F rating) | Ultralight down (sub-20°F, compressible) | Winter or alpine camping |
| Headlamp | Basic LED (100 lumens) | Rechargeable (300+ lumens) | High-output with red light mode | Night hiking or camp use |
Final Tips for a Successful Hike
Preparation is only half the battle—mindset and behavior matter just as much.
- Start early: Begin your hike at dawn to avoid afternoon storms and allow time for delays.
- Move at a steady pace: Avoid rushing; conserve energy for the entire trip.
- Practice Leave No Trace: Pack out all trash, stay on trails, and respect wildlife.
- Listen to your body: Rest when tired, eat regularly, and turn back if conditions worsen.
Example: On the John Muir Trail, many hikers underestimate the cumulative fatigue of daily 15-mile days. Pacing and rest are key to completing the journey.
Conclusion
A thorough hiking travel checklist complete guide is your foundation for safe, enjoyable outdoor adventures. By covering navigation, hydration, clothing, safety, and trip-specific needs, this guide ensures you’re ready for whatever the trail throws your way. Customize it to your destination, test your gear, and always prioritize preparation over convenience. Whether you’re a weekend warrior or a long-distance trekker, the right checklist turns potential risks into rewarding experiences.
FAQ
Q: How much water should I bring on a day hike?
A: Plan for at least 2 liters per person for a moderate 5–7 mile hike in cool weather. Increase to 3+ liters in hot or high-altitude conditions, and always carry a way to purify additional water from natural sources.
Q: Do I really need a map and compass if I have GPS?
A: Yes

