
Airport Guide Step by Step for Beginners: Your Complete Walkthrough
Traveling by air for the first time can feel overwhelming, but with a clear airport guide step by step for beginners, the process becomes manageable and even straightforward. From arriving at the terminal to boarding your flight, each stage follows a logical sequence designed to keep passengers safe, organized, and on time. This guide walks you through every essential step—check-in, security, boarding, and more—with practical tips and real-world examples to help you navigate the airport with confidence. Whether you’re flying domestically or internationally, understanding the flow of airport operations reduces stress and ensures a smoother journey.
Before You Leave Home: Essential Preparations
Your airport experience begins long before you step through the terminal doors. Proper preparation at home sets the foundation for a hassle-free trip. Start by confirming your flight details—departure time, terminal, and gate—using the airline’s official website or app. Most airlines open check-in 24 hours before departure, allowing you to select seats, add baggage, and receive your boarding pass digitally.
Pack smart. Review your airline’s baggage policies to avoid unexpected fees. Carry-on bags should fit in the overhead bin or under the seat, and liquids must comply with the 3-1-1 rule: containers no larger than 3.4 ounces (100ml), all fitting in a single quart-sized clear plastic bag. Keep essential items like medications, travel documents, and a change of clothes in your carry-on in case your checked luggage is delayed.
Bring the right documents. For domestic flights, a government-issued photo ID (like a driver’s license) is typically sufficient. International travelers need a valid passport, and depending on your destination, a visa or ESTA authorization. Store digital copies of these documents on your phone and print physical backups.
Arrive early. For domestic flights, aim to be at the airport at least two hours before departure. For international flights, allow three hours. This buffer accounts for traffic, parking, check-in lines, and security delays—especially during peak travel seasons like holidays or summer vacations.
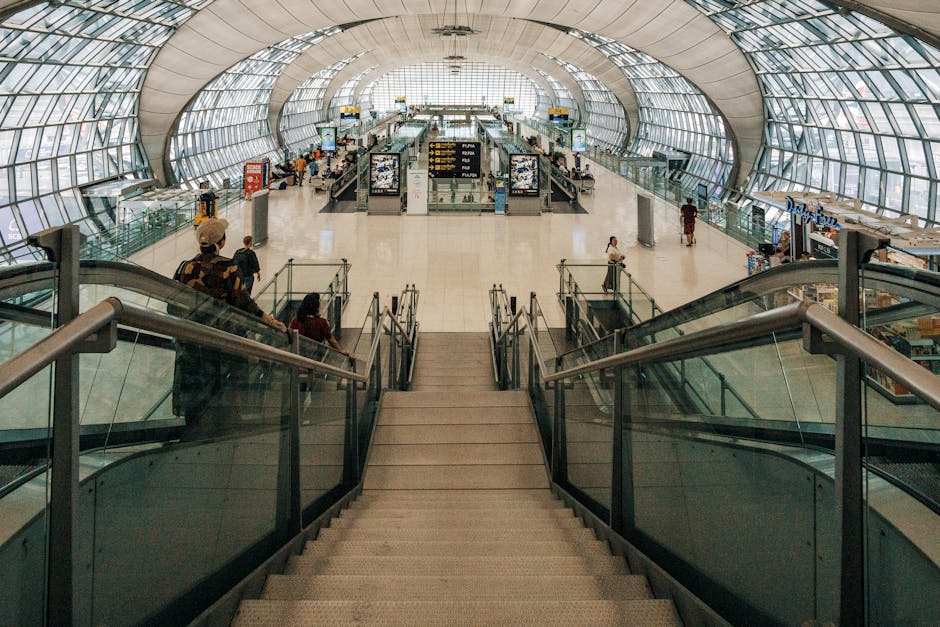
Step 1: Arriving at the Airport and Finding Your Terminal
Once you arrive at the airport, your first task is locating the correct terminal. Large airports like Atlanta’s Hartsfield-Jackson or Chicago O’Hare have multiple terminals connected by shuttles or trains. Check your boarding pass or the airport’s website for your terminal number. Most airports display terminal maps at entrances and provide digital signage throughout the facility.
If you’re being dropped off, curbside check-in may be available for some airlines, allowing you to drop bags without entering the terminal. If you’re parking, follow signs to long-term or short-term lots. Many airports offer online reservation systems for parking, which can save time and money.
Once inside, orient yourself using the overhead directories. These maps show gates, restrooms, dining options, and services like currency exchange or lounges. Download the airport’s official app if available—it often includes real-time gate changes, security wait times, and navigation assistance.
Step 2: Check-In and Baggage Drop
Even if you’ve checked in online, you’ll likely need to visit the airline counter or kiosk to drop off checked bags. Locate your airline’s check-in area using the terminal map or signage. Most airlines group their counters together by alliance or region.
At the counter, present your ID and boarding pass. The agent will weigh your bags and attach tracking tags. If your bag exceeds size or weight limits, you’ll be charged an excess baggage fee—typically $50–$100 per item. To avoid this, measure and weigh your bags at home using a bathroom scale and tape measure.
Self-service kiosks are increasingly common and can speed up the process. Follow the on-screen prompts to print bag tags and attach them securely. Some airports now offer automated bag drops where you scan your boarding pass and place your bag on a conveyor belt.
After dropping your bags, keep your boarding pass and ID handy. You’ll need them again at security and boarding.
Step 3: Security Screening – TSA and Beyond
The Transportation Security Administration (TSA) checkpoint is one of the most critical—and often most stressful—parts of the airport process. Arriving prepared can significantly reduce wait times and frustration.
Have your boarding pass and ID ready before reaching the front of the line. Remove laptops, tablets, and large electronics from your carry-on and place them in a bin. Liquids, gels, and aerosols must be in your quart-sized bag and placed in a separate bin. Shoes, belts, and light jackets typically need to come off, so wear slip-on shoes if possible.
Metal detectors and full-body scanners are standard. If you have medical implants or wear an underwire bra, inform the TSA officer—you may be directed to a pat-down or alternative screening. TSA PreCheck members enjoy expedited screening with shoes and light jackets on, laptops in bags, and no liquid removal.
Wait times vary by airport and time of day. Early mornings and late afternoons are typically busiest. Use the TSA’s official app or website to check real-time wait times. If you’re running late, notify an agent—some airports offer re-screening priority for passengers close to departure.
What Not to Bring: Common Security Mistakes
- Large liquids: Bottles over 3.4 ounces will be confiscated, even if partially full.
- Sharp objects: Knives, scissors over 4 inches, and box cutters are prohibited in carry-ons.
- Lithium batteries: Spare batteries must be in carry-ons; never pack them in checked luggage.
- Self-defense items: Pepper spray, brass knuckles, and Tasers are banned.
When in doubt, check the TSA’s “What Can I Bring?” tool online before packing.
Step 4: Finding Your Gate and Waiting to Board
After clearing security, proceed to your departure gate. Gate numbers are listed on your boarding pass and displayed on flight information screens throughout the terminal. Walk times between gates can vary—some airports require 15–20 minutes to reach distant gates, especially in large hubs like Denver or Dallas/Fort Worth.
Use the time before boarding wisely. Locate restrooms, charging stations, and food options near your gate. Many airports now offer free Wi-Fi, but speeds may be slow during peak hours. Consider downloading entertainment or work materials in advance.
Stay alert for gate changes. Airlines sometimes reassign gates due to operational issues. Monitor the flight information displays or use your airline’s app for real-time updates. If your gate changes, move promptly—boarding announcements may begin shortly after the change is posted.
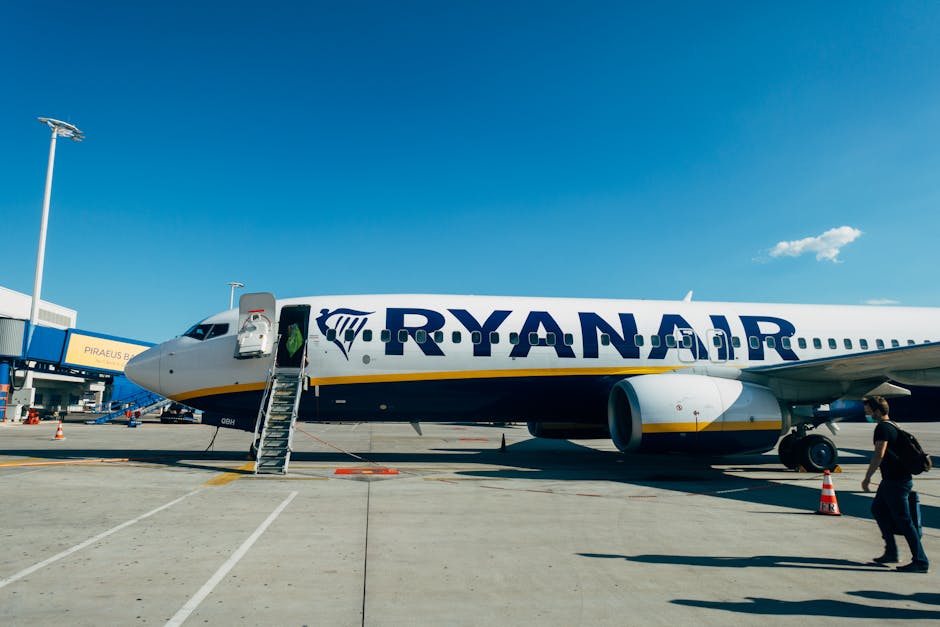
Step 5: Boarding the Aircraft
Boarding typically begins 30–45 minutes before departure. Airlines use a zone-based system to manage the flow of passengers. Common boarding groups include:
- Group 1: First class, business class, elite frequent flyers, and passengers needing extra time.
- Group 2–4: Premium economy, standard economy, and basic economy passengers, often sorted by seat location (back to front).
- Group 5+: Families with small children, passengers requiring assistance.
Listen for your group number to be called. Have your boarding pass and ID ready—gate agents will scan them before you enter the jet bridge. If you’re in a later group, remain seated until your turn to avoid crowding the jet bridge.
Once onboard, stow your carry-on in the overhead bin or under the seat in front of you. Window and middle seat passengers should place bags under the seat to maximize overhead space. Follow crew instructions and remain seated with your seatbelt fastened until the seatbelt sign is turned off.
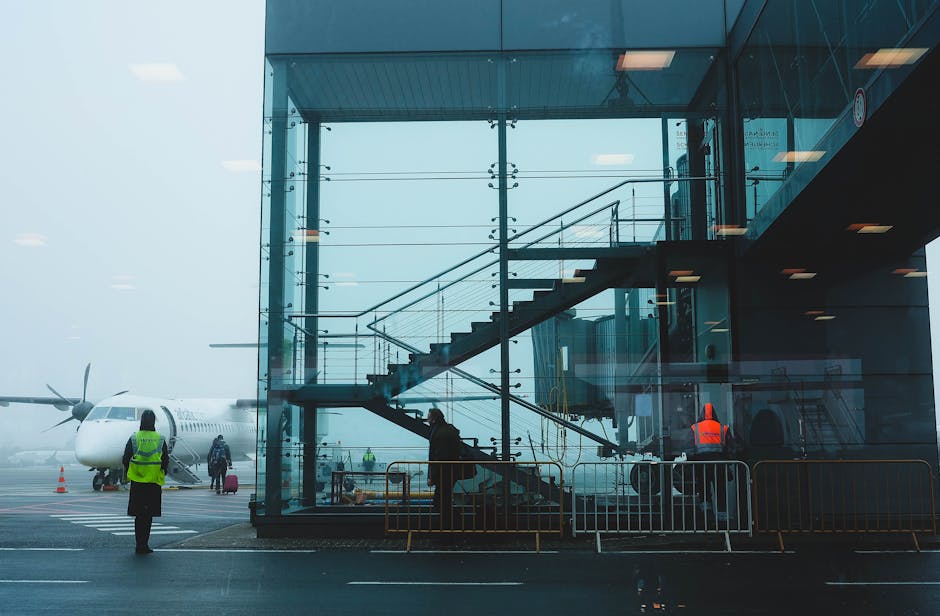
After Landing: Baggage Claim and Ground Transportation
Upon landing, remain seated until the aircraft has come to a complete stop and the seatbelt sign is turned off. Gather your personal items and exit when instructed. Follow signs to baggage claim—usually located on the lower level of the terminal.
Your checked bags will appear on a designated carousel, listed on flight information screens. Baggage claim can take 15–45 minutes depending on the flight size and airport efficiency. If your bag doesn’t appear within 30 minutes, report it to the airline’s baggage service office immediately. Most airlines offer tracking via their apps, so you can monitor your bag’s status in real time.
After collecting your luggage, proceed to ground transportation. Options typically include:
| Option | Average Cost | Best For | Notes |
|---|---|---|---|
| Rideshare (Uber/Lyft) | $25–$50 | Door-to-door convenience | Pickup zones clearly marked; surge pricing possible |
| Taxi | $30–$60 | Immediate availability | Fixed rates at some airports; cash or card accepted |
| Public Transit | $2–$10 | Budget travelers | Check schedules; may require transfers |
| Rental Car | $40–$100/day | Exploring the area | Reservation recommended; shuttle to rental facility |
Choose the option that best fits your budget, schedule, and destination. Always confirm pickup locations—some airports require rideshares to use designated lanes outside the terminal.
Special Considerations for International Travel
Flying internationally adds layers of complexity. In addition to the standard steps, you’ll need to clear customs and immigration upon arrival in a foreign country. At U.S. airports, international arrivals typically land in a separate terminal and proceed through passport control before collecting baggage and passing through customs.
At passport control, present your passport, visa (if required), and completed customs declaration form. Officers may ask about the purpose of your visit, length of stay, and accommodation details. Answer clearly and honestly.
After passport control, collect your checked bags and proceed to customs. Declare any items required by law—such as food, plants, or large amounts of currency. Green channel (nothing to declare) and red channel (something to declare) lanes are common in many countries.
Departing internationally may require additional checks. Some countries require exit visas or proof of onward travel. Confirm requirements with your airline or embassy before departure.
Tips for a Stress-Free Airport Experience
- Download airline and airport apps: Get real-time updates on gates, delays, and baggage.
- Sign up for TSA PreCheck or CLEAR: Reduce security wait times for frequent flyers.
- Pack a travel kit: Include snacks, a reusable water bottle, noise-canceling headphones, and a portable charger.
- Wear comfortable clothing: Choose layers and slip-on shoes for easy security screening.
- Keep important numbers handy: Save your airline’s customer service line in your phone.
Airport Guide Step by Step for Beginners: Final Checklist
Before heading to the airport, run through this quick checklist:
- ✅ Flight confirmed and boarding pass saved
- ✅ Valid ID and travel documents ready
- ✅ Bags packed within size and weight limits
- ✅ Liquids in 3-1-1 compliant bag
- ✅ Electronics and chargers in carry-on
- ✅ Arrival time: 2 hours (domestic), 3 hours (international)
- ✅ Ground transportation arranged
Following this airport guide step by step for beginners ensures you’re prepared for every stage of your journey. While no two airports are exactly alike, the core process remains consistent: check in, clear security, find your gate, board, and collect your bags. With practice, what once felt intimidating becomes routine.
FAQ: Common Questions from First-Time Flyers
Can I change my flight at the airport if I’m running late?
It depends on the airline and fare type. Many carriers allow same-day flight changes for a fee, but this must typically be done before your original departure time. Arriving late may result in forfeiting your ticket. Always contact the airline in advance if you’re delayed.
What happens if I lose my boarding pass?
You can reprint your boarding pass at a kiosk or airline counter using your ID. Most airlines also offer mobile boarding passes via their apps. If you lose your ID, TSA may still allow screening with additional verification, but it’s best to carry a backup form of identification.
Are food and drinks allowed through security?
Solid food is generally permitted, but liquids and gels must follow the 3-1-1 rule. Avoid bringing large bottles of water or coffee—they’ll be confiscated. You can purchase sealed beverages after security and carry them onboard.

