
Travel Photography Tips for Beginners Guide
Travel Photography Tips for Beginners Guide
Starting your journey in travel photography can feel overwhelming, but with the right approach, you can capture stunning images that reflect the spirit of your adventures. This travel photography tips for beginners guide breaks down essential techniques, gear advice, and mindset shifts to help you take better photos from your very first trip. Whether you’re using a smartphone or a DSLR, these practical strategies will improve your compositions, lighting choices, and storytelling ability—without requiring expensive equipment or years of experience.
Understanding the Basics of Travel Photography
Travel photography is about more than just pointing and shooting. It’s about capturing moments, cultures, landscapes, and emotions in a way that tells a story. Unlike studio or portrait photography, travel photography happens in unpredictable environments—changing light, moving subjects, and limited time. Success comes from preparation, adaptability, and a clear understanding of your camera’s capabilities.
Begin by mastering three core elements: composition, lighting, and timing. These form the foundation of every strong travel image. Even with a basic camera, applying these principles consistently will elevate your work significantly.
Composition: Framing Your Shot
Good composition guides the viewer’s eye and creates balance. One of the most effective tools is the rule of thirds—imagine your frame divided into nine equal parts by two horizontal and two vertical lines. Placing key elements along these lines or at their intersections often results in more engaging photos.
For example, when photographing a mountain range, position the horizon on the lower third line to emphasize the sky, or on the upper third to highlight the landscape. Similarly, when shooting a street scene, place a person walking along one of the vertical lines to create visual flow.
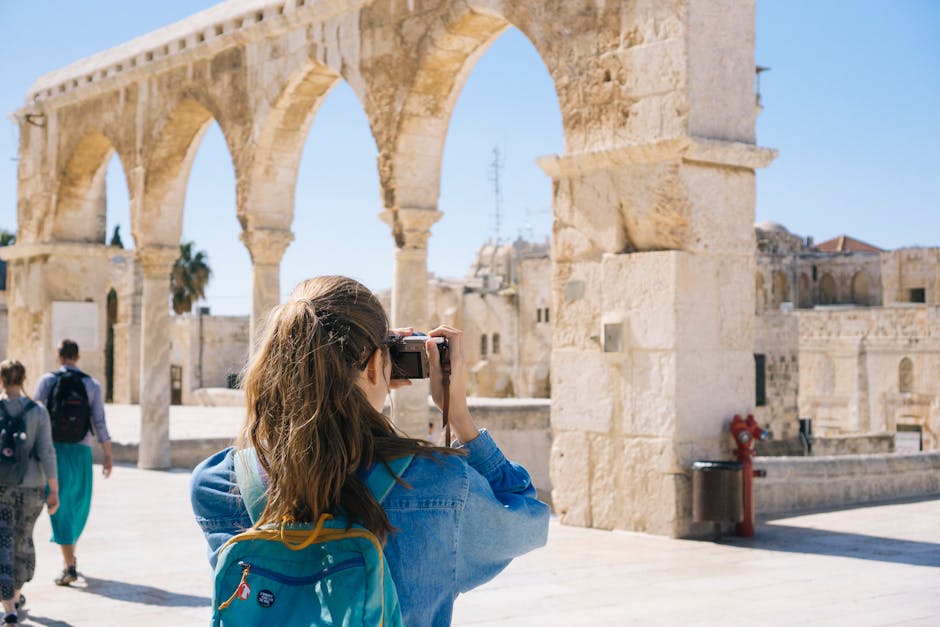
Other compositional techniques include leading lines (roads, fences, or shorelines that draw the eye into the image), symmetry (especially effective in architecture), and framing (using arches, windows, or foliage to enclose your subject).
Lighting: The Heart of Great Photos
Lighting determines mood, clarity, and color. The best natural light for travel photography occurs during the golden hour—shortly after sunrise and before sunset. During this time, the sun is low in the sky, producing soft, warm, and diffused light that minimizes harsh shadows and enhances textures.
Avoid shooting in the middle of the day when possible. The overhead sun creates strong contrasts, blown-out highlights, and unflattering shadows under eyes and features. If you must shoot in bright daylight, look for shaded areas or use natural diffusers like trees or awnings to soften the light.
Night photography presents its own challenges. Use a tripod to stabilize your camera and allow for longer exposures. Increase your ISO cautiously—too high, and you’ll introduce grain or noise. Many modern smartphones and cameras have night modes that automatically adjust settings for low-light conditions.
Timing: Capturing the Decisive Moment
Great travel photos often depend on being in the right place at the right time. This could mean waiting for a street performer to strike a pose, a wave to crash against rocks, or a local market to come alive in the morning.
Patience is key. Spend time observing a scene before taking pictures. Anticipate action—watch how people move, how light changes, and where interactions happen. Burst mode can help capture fast-moving subjects, but don’t rely on it exclusively. Sometimes a single, well-timed shot is more powerful than dozens of mediocre ones.
Essential Gear for Travel Photography
You don’t need the most expensive camera to take great travel photos, but having the right tools makes a difference. The goal is to balance quality, portability, and versatility.
For beginners, a compact mirrorless camera or a high-end smartphone is often sufficient. These devices offer excellent image quality, manual controls, and portability. If you’re using a smartphone, consider investing in a clip-on lens kit for wide-angle or macro shots.
A lightweight tripod is invaluable for self-portraits, long exposures, and stable video. Look for one that folds down small and weighs under two pounds. A polarizing filter can reduce glare and enhance skies, especially useful when photographing water or glass.
Memory cards and backup solutions are often overlooked but critical. Always carry at least two memory cards and back up your photos daily—either to a portable hard drive or cloud storage. Losing a day’s worth of images due to a corrupted card is a common and preventable mistake.
Camera Settings You Should Know
Understanding basic camera settings gives you creative control. Even on automatic modes, knowing when to switch to manual can dramatically improve your results.
Start with aperture (f-stop), which controls depth of field. A low f-number (like f/1.8) creates a blurred background, ideal for portraits. A high f-number (like f/11) keeps more of the scene in focus, perfect for landscapes.
Shutter speed determines how motion is captured. Fast shutter speeds (1/500 or higher) freeze action, while slow speeds (1/30 or lower) create motion blur. Use a tripod for slow speeds to avoid camera shake.
ISO controls sensitivity to light. Keep it as low as possible (100–400) in good light to maintain image quality. Increase it in low light, but be aware that higher ISO introduces noise.
Most cameras offer scene modes (portrait, landscape, night) that adjust these settings automatically. Use them as learning tools, but aim to transition to manual or semi-manual modes (like aperture priority) as you gain confidence.
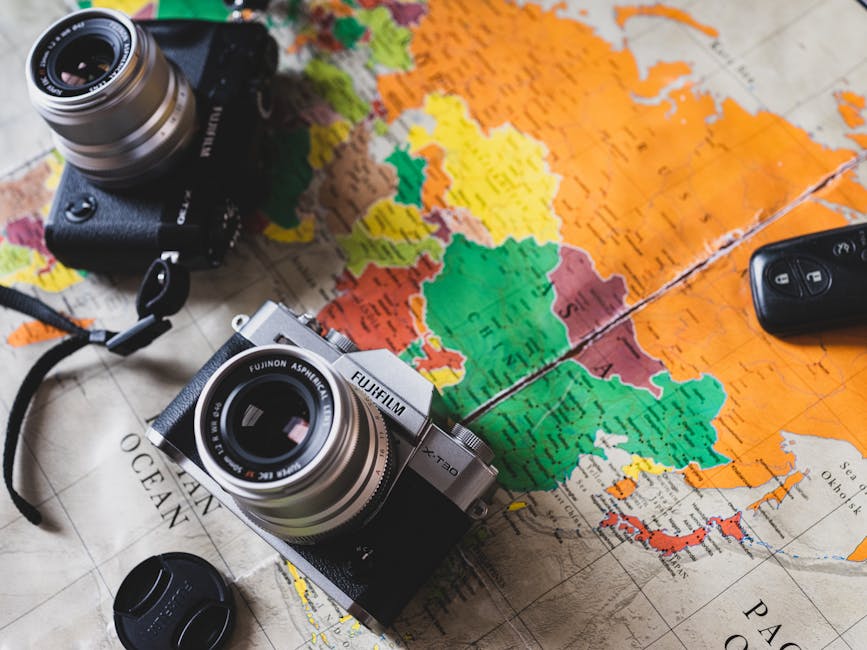
Planning and Research Before You Travel
Preparation can make or break your travel photography. Research your destination beforehand to identify key photo opportunities—iconic landmarks, local festivals, scenic viewpoints, and hidden gems.
Use apps like Google Earth, Instagram, or travel blogs to scout locations. Note the best times to visit for lighting and crowds. For example, photographing the Eiffel Tower at sunrise avoids tourist crowds and offers soft, directional light.
Check local customs and photography rules. In some places, photographing people or religious sites requires permission. Always be respectful and ask before taking close-up shots of individuals, especially in rural or indigenous communities.
Create a shooting checklist: sunrise/sunset times, weather forecasts, battery levels, memory card space, and backup plans. A little planning ensures you don’t miss critical moments.
Shooting in Different Environments
Each travel environment presents unique challenges and opportunities. Adapting your approach based on location is essential for consistent results.
Urban Photography
Cities offer a mix of architecture, street life, and cultural scenes. Focus on details—textures of old buildings, reflections in windows, or patterns in tilework. Use leading lines from streets or bridges to guide the viewer through the frame.
Golden hour is especially magical in urban settings, as warm light bathes skyscrapers and alleyways. Night photography in cities can yield dramatic results with neon signs, traffic trails, and illuminated monuments—just remember to use a tripod.
Avoid overcrowding your frame. Cities are busy, so simplify your composition by focusing on one strong element, like a single street vendor or a lone cyclist.
Nature and Landscape Photography
Landscapes require patience and attention to light. Arrive early to secure a good spot and wait for the best conditions. Use a wide-angle lens to capture vast scenes, but don’t forget to zoom in on details—a single flower, a rock formation, or animal tracks.
Include a foreground element to add depth. A rock, tree branch, or body of water in the front third of your image creates layers and draws the viewer in.
Weather can enhance your shots. Fog, rain, or snow add mood and drama. Just protect your gear with a rain cover or plastic bag with a hole for the lens.
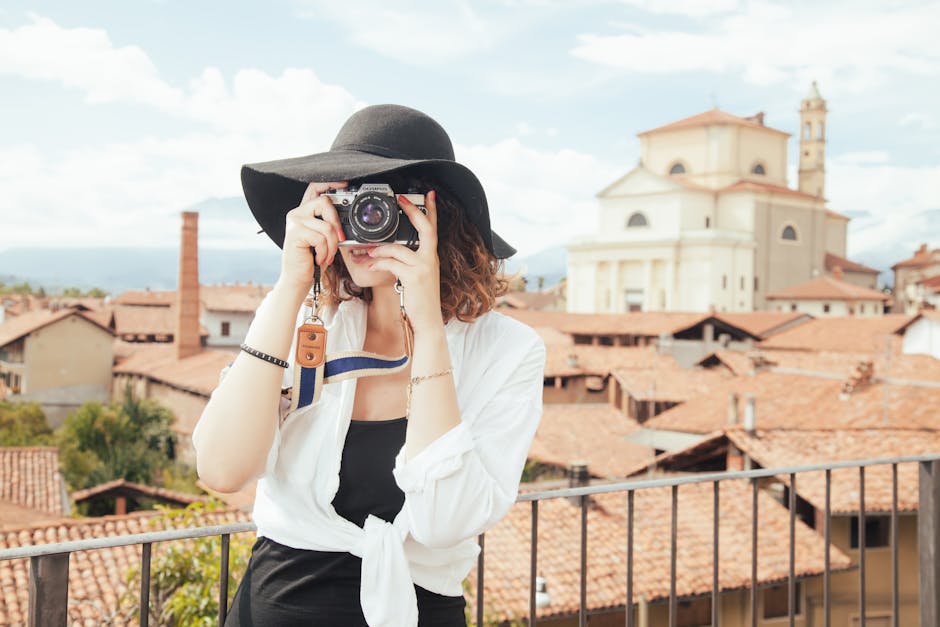
People and Cultural Photography
Photographing people adds authenticity to your travel stories. Always seek permission, especially for close-ups. A smile and a gesture often work better than words.
Candid shots can be powerful, but avoid making subjects uncomfortable. If you’re unsure, take a photo from a distance or focus on hands, clothing, or daily activities like cooking or weaving.
Capture interactions—vendors serving customers, children playing, elders sharing stories. These moments reveal culture more than posed portraits.
Editing and Post-Processing Tips
Editing enhances your photos but should not replace good shooting technique. The goal is subtle improvement, not over-processing.
Start with basic adjustments: exposure, contrast, white balance, and cropping. Most photos benefit from slight sharpening and noise reduction.
Use editing apps like Adobe Lightroom Mobile, Snapseed, or VSCO. These offer powerful tools without requiring a computer. Learn to use the histogram—a graph showing light distribution—to avoid underexposed or overexposed images.
Avoid heavy filters or excessive saturation. Natural colors and balanced tones look more authentic and professional. Save edited versions separately to preserve originals.
Common Mistakes to Avoid
Even experienced photographers make errors. Being aware of common pitfalls helps you avoid them.
- Overpacking gear: Bring only what you’ll use. Extra lenses and accessories add weight and distract from shooting.
- Ignoring the background: A cluttered or distracting background can ruin a great subject. Always scan the entire frame.
- Shooting only landmarks: While iconic sites are important, unique local details often make more memorable images.
- Not backing up photos: Always have a backup plan. Cloud storage or a portable drive prevents loss.
- Rushing shots: Take time to compose and adjust settings. Hasty photos often lack impact.
Building a Travel Photography Routine
Consistency improves skills. Develop a routine that works for you.
Start each day by reviewing your goals—what scenes or subjects do you want to capture? Charge batteries, format memory cards, and check your gear.
Shoot regularly, even if conditions aren’t ideal. Practice in different lighting and environments. Keep a photo journal to note what worked and what didn’t.
Review your photos daily. Identify strengths and areas for improvement. Over time, you’ll develop a personal style and technical confidence.
Comparison: Smartphone vs. Camera for Travel Photography
| Feature | Smartphone | DSLR/Mirrorless Camera |
|---|---|---|
| Portability | Excellent—fits in pocket | Moderate—requires bag |
| Image Quality | Very good in daylight | Superior, especially in low light |
| Manual Controls | Limited on most models | Full control over settings |
| Lens Options | Fixed lens (with clip-on add-ons) | Interchangeable lenses |
| Battery Life | Short—drains with use | Longer—spare batteries available |
| Ease of Use | Simple and intuitive | Steeper learning curve |
For most beginners, a high-quality smartphone is a great starting point. As your skills grow, you may consider upgrading to a camera for greater creative control.
Final Thoughts on Travel Photography for Beginners
Travel photography is a rewarding way to preserve memories and share experiences. This travel photography tips for beginners guide emphasizes practical, actionable advice—from mastering composition and lighting to choosing the right gear and editing wisely. The key is to stay curious, be patient, and keep shooting. Every trip is an opportunity to learn and improve. With consistent practice and attention to detail, your photos will evolve from simple snapshots to compelling visual stories.
FAQ
What camera should I buy as a beginner in travel photography?
Start with a compact mirrorless camera or a high-end smartphone. Both offer excellent image quality and portability. If you’re serious about growth, consider models with manual controls and interchangeable lenses, such as the Sony Alpha a6000 or Canon EOS M50.
How can I take better photos in low light while traveling?
Use a tripod to stabilize your camera, increase ISO moderately, and use wider apertures (lower f-numbers). Many smartphones have night modes that combine multiple exposures for brighter, clearer images.
Is it okay to edit my travel photos?
Yes, editing is a normal part of photography. Use it to correct exposure, adjust colors, and crop for better composition. Avoid over-editing—aim for natural, balanced results that enhance the original scene.

